|
|
When Office and Park Server are located in different networks, it is necessary to connect them using VPN (Virtual Private Network) for securing information channels. This is done in two stages: creating Open VPN connection and then synchronizing park and office servers.
The following diagram demonstrates the concept of VPN connection between networks.
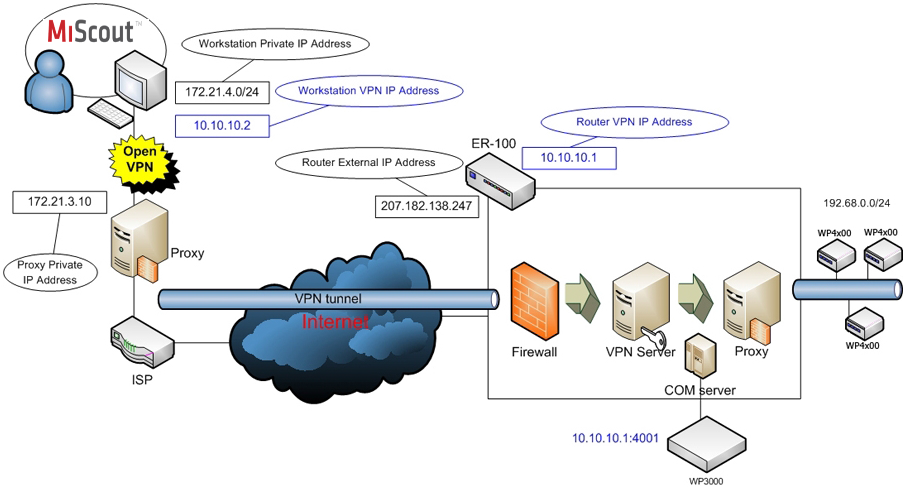
Standard Windows VPN is sufficient for simple configuration if we want to use secure communication channel. We require OpenVPN in case of complex network configurations with routers, proxies etc.
This section describes how to setup OpenVPN client on your workstation. Keep in mind that to implement OpenVPN connection it is required to have both - a client and server. Therefore make sure that OpenVPN server is up and running, for example on a router, to establish such a connection.
To Set Up OpenVPN follow the steps below:
1. Download the installer from here and run it on the server computer. For a 32-bit Windows 7 use openvpn-install-2.3.4-I603-i686.exe Installer. For a 64-bit Windows 7 use openvpn-install-2.3.4-I603-x86_64.exe Installer. Install OpenVPN on each client. (This step can be skipped for now and done at any convenient time).
2. From the Start menu, select Run....
3. Press the Browse... button and navigate to the downloaded Installer. OpenVPN Setup Wizard window appears.
Note. The Installer should run as Administrator. Also if you are running an Antivirus program, be sure to add the Installer to the Exceptions list, otherwise the virtual adapters will not be created.
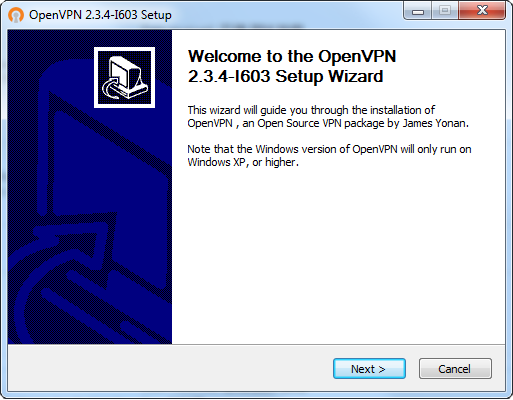
Click Next > to continue the installation.
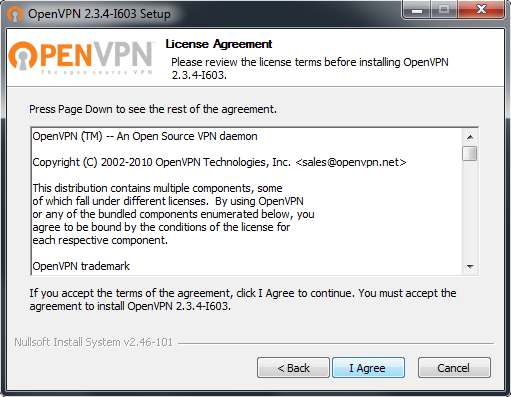
4. On the following screen a License Agreement is displayed. Review the license terms and click I Agree to continue the installation.
5. Next screen provides a possibility to choose components of the OpenVPN. Be sure to check all the boxes to enable OpenVPN correct operation.
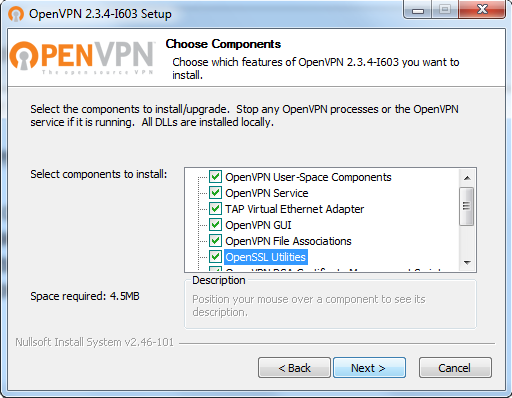
Click Next > to continue the installation.
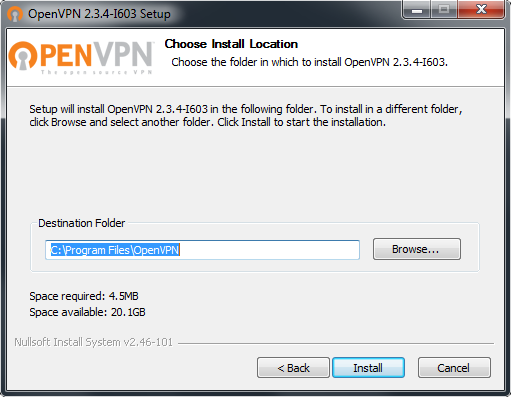
6. The next window allows you to choose the desired installation location. Browse the required destination folder and click Install.
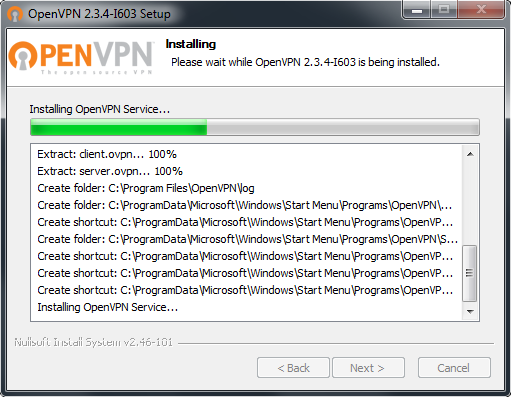
7. Now the installation process takes place.
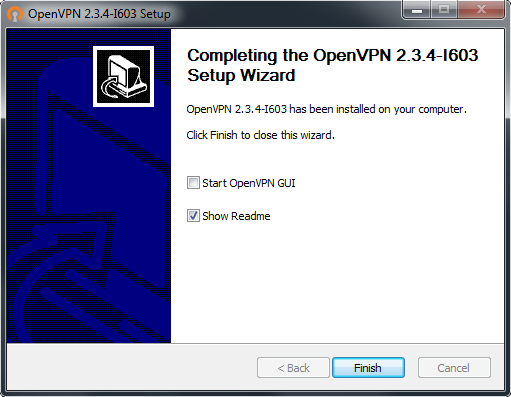
8. As soon as the OpenVPN is installed on your computer click Finish to close the Setup Wizard.
Configuring OpenVPN
Preparatory Steps
1. Navigate to the C:\Program Files\OpenVPN\easy-rsa folder in the command prompt:
cmd.exe
cd "C:\Program Files\OpenVPN\easy-rsa"
2. Initialize the OpenVPN configuration:
init-config
Note. Only run init-config once, during installation.
3. Open the vars.bat file in a text editor:
notepad vars.bat
4. Edit the following lines in vars.bat, replacing "US", "CA," etc. with your company's information:
set KEY_COUNTRY=US
set KEY_PROVINCE=CA
set KEY_CITY=SanFrancisco
set KEY_ORG=OpenVPN
set KEY_EMAIL=mail@host.domain
5. Save the file and exit notepad.
6. Run the following commands:
vars
clean-all
Building certificates and keys
1. The certificate authority (CA) certificate and key:
build-ca
2. When prompted, enter your country, etc. These will have default values, which appear in brackets. For your "Common Name," a good choice is to pick a name to identify your company's Certificate Authority. For example, "OpenVPN-CA":
Country Name (2 letter code) [US]:
State or Province Name (full name) [CA]:
Locality Name (eg, city) [SanFrancisco]:
Organization Name (eg, company) [OpenVPN]:
Organizational Unit Name (eg, section) []:
Common Name (eg, your name or your server's hostname) []:OpenVPN-CA
Email Address [mail@host.domain]:
3. The server certificate and key:
build-key-server server
4. Client certificates and keys:
For each client, choose a name to identify that computer, such as "mike-laptop" in this example.
build-key mike-laptop
When prompted, enter the "Common Name" as the name you have chosen (e.g. "mike-laptop")
Repeat this step for each client computer that will connect to the VPN.
5. Generate Diffie Hellman parameters (This is necessary to set up the encryption)
build-dh
6. Generate a key tls-auth (ta.key) to authenticate packets
openvpn --genkey --secret ta.key
Configuration Files
1. Find the sample configuration files:
Start Menu -> All Programs -> OpenVPN -> OpenVPN Sample Configuration Files
Server Config File
Open server.ovpn
Find the following lines:
ca ca.crt
cert server.crt
key server.key
dh dh1024.pem
Edit them as follows:
ca "C:\\Program Files\\OpenVPN\\config\\ca.crt"
cert "C:\\Program Files\\OpenVPN\\config\\server.crt"
key "C:\\Program Files\\OpenVPN\\config\\server.key"
dh "C:\\Program Files\\OpenVPN\\config\\dh1024.pem"
Save the file as C:\Program Files\OpenVPN\easy-rsa\server.ovpn
Client Config Files
This is similar to the server configuration
Open client.ovpn
Find the following lines:
ca ca.crt
cert client.crt
key client.key
Edit them as follows:
ca "C:\\Program Files\\OpenVPN\\config\\ca.crt"
cert "C:\\Program Files\\OpenVPN\\config\\mike-laptop.crt"
key "C:\\Program Files\\OpenVPN\\config\\mike-laptop.key"
Notice that the name of the client certificate and key files depends upon the Common Name of each client.
Edit the following line, replacing "my-server-1" with your server's public Internet IP Address or Domain Name. If you need help, see Static Internet IP below.
remote my-server-1 1194
Save the file as C:\Program Files\OpenVPN\easy-rsa\mike-laptop.ovpn (in this example. Each client will need a different, but similar, config file depending upon that client's Common Name.)
Copying the Server and Client Files to Their Appropriate Directories
Copy these files from C:\Program Files\OpenVPN\easy-rsa\ to C:\Program Files\OpenVPN\config\ on the server:
ca.crt
dh1024.pem
server.crt
server.key
server.ovpn
Copy these files from C:\Program Files\OpenVPN\easy-rsa\ on the server to C:\Program Files\OpenVPN\config\ on each client (mike-laptop, in this example):
ca.crt
mike-laptop.crt
mike-laptop.key
mike-laptop.ovpn
Creating a config for Server and Client
Config for Server
Next, let's create a config for our server and OS client OC. In the config directory create a file with the following name and extension: server.ovpn. Open it with notebook and start to write the config:
1. Select the protocol for the data transmission - in this case, upd:
proto udp
2. The default port for OpenVPN:
port 1194
3. L3-tunnel program mode. In this mode, OpenVPN - router:
dev tun
4. Client-server mode:
tls-server
5. This topology is available in version 2.1 and it means that each customer is given a single address, without virtual ports on the router:
topology subnet
6. Routes are added by .exe - this is important:
route-method exe
7. The delay while adding the route can be reduced to 5:
route-delay 10
8. This option specifies the organization of the network. We have a virtual network 10.8.0.0 / 24. The first address of the network, that is 10.8.0.1 is given server, the subsequent (10.8.0.2, 10.8.0.3, etc.) are given to clients. DHPC server receives the address 10.8.0.254:
server 10.8.0.0 255.255.255.0
9. We set a gateway for OpenVPN network:
route-gateway 10.8.0.1
10. Directory in which we must place a file with the name of our client, ie mike-laptop without extension, and record there the commands which will be executed on the client:
client-config-dir "C: \\ ProgramFiles \\ OpenVPN \\ ccd"
Following are paths to the certificate file and the key server. Note that paths are required to be written with a double feature, namely \\:
сa "C:\\Program Files\\OpenVPN\\keys\\ca.crt"
cert "C:\\Program Files\\OpenVPN\\keys\\server.crt"
key "C:\\Program Files\\OpenVPN\\keys\\server.key"
dh "C:\\Program Files\\OpenVPN\\keys\\dh1024.pem"
tls-auth "C:\\Program Files\\OpenVPN\\keys\\ta.key"
11. We set the route for server to the entire network:
route 10.8.0.0 255.255.255.0
12. Choose a compression method:
comp-lzo
13. OpenVPN system transmits non-critical network errors to the program logging . In practice, this will reduce the contents of the status window that appears when you start the server OpenVPN:
verb 1
14. The server pings the opposite direction with an interval of 10 seconds and if the party does not answer within 60 seconds, the server starts the reconnection:
keepalive 5 60
15. Next, go to the directory ccd and create a file, in which the commands sent from the server to the client will be located. It should be called as we used to call the client, for example mike-laptop. The file will have no extension.
16. We set an IP mask and for our client mike-laptop:
ifconfig-push 10.8.0.2 255.255.255.0
17. Pass it a route to the entire network:
push "route 10.8.0.0 255.255.255.0"
18. Set a gateway for it:
push "route-gateway 10.8.0.1"
19. This command tells the server that this client has a network 192.168.1.0:
iroute 192.168.1.0 255.255.255.0
Thus, we have finished configuring the server-side.
Config for Client
1. Next, begin to change client settings. Browse on the client machine for the folder config. Let's create a file called mike-laptop.ovpn and proceed to edit it, a number of options repeat similar to the server configurations, so we will not explain them:
dev tun
proto udp
port 1194
2. Specify the external address:
remote 111.111.111.111
3. The client will operate in a TLS client mode:
tls-client
4. This option protects against substitution of a server by a third party:
remote-cert-tls server
5. These options are similar to the server ones:
route-method exe
route-delay 10
6. We set the route to network 192.168.0.0:
route 192.168.0.0 255.255.255.0
7. This command allows the receiving client configuration from the server:
pull
8. The route to the keys:
ca "C:\\Program Files\\OpenVPN\\keys\\ca.crt"
cert "C:\\Program Files\\OpenVPN\\keys\\mike-laptop.crt"
key "C:\\Program Files\\OpenVPN\\keys\\mike-laptop.key"
tls-auth "C:\\Program Files\\OpenVPN\\keys\\ta.key"
9. The remaining options are also similar to the server ones:
cipher BF-CBC
comp-lzo
verb 1
keepalive 5 60
Now the configuration of the program on the client side is finished.
On both client and server, run OpenVPN from:
Start Menu -> All Programs -> OpenVPN -> OpenVPN GUI
Double click the icon which shows up in the system tray to initiate the connection. The resulting dialog should close upon a successful start.
To add a new Open VPN connection in ![]() . Clicking on the
. Clicking on the ![]() icon reveals a menu allowing you to select the type of connection you want to add. Alternatively use the right mouse button over the Connections section and click New in the pop-up menu and select the required connection type. The newly created Connection Properties will reveal in the Connection Properties.
icon reveals a menu allowing you to select the type of connection you want to add. Alternatively use the right mouse button over the Connections section and click New in the pop-up menu and select the required connection type. The newly created Connection Properties will reveal in the Connection Properties.

To enable the Open VPN connection specify the following required properties: